Hi Class!
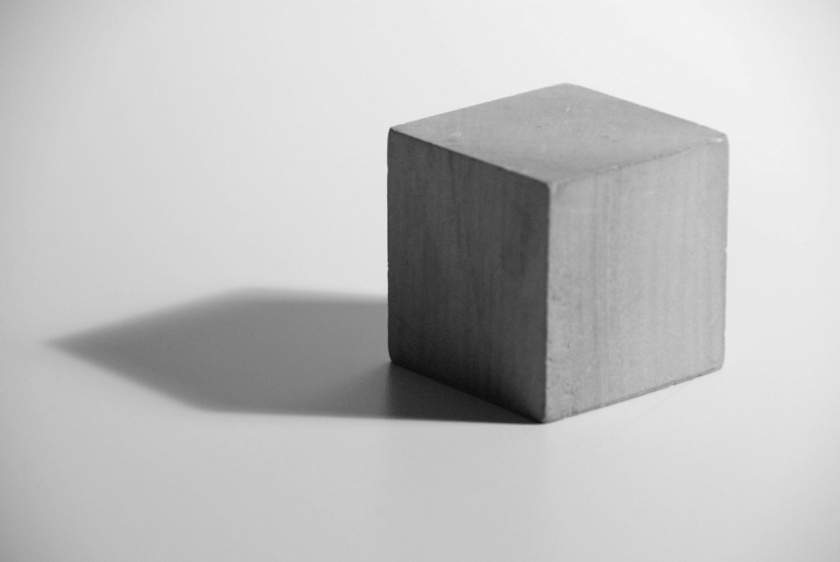
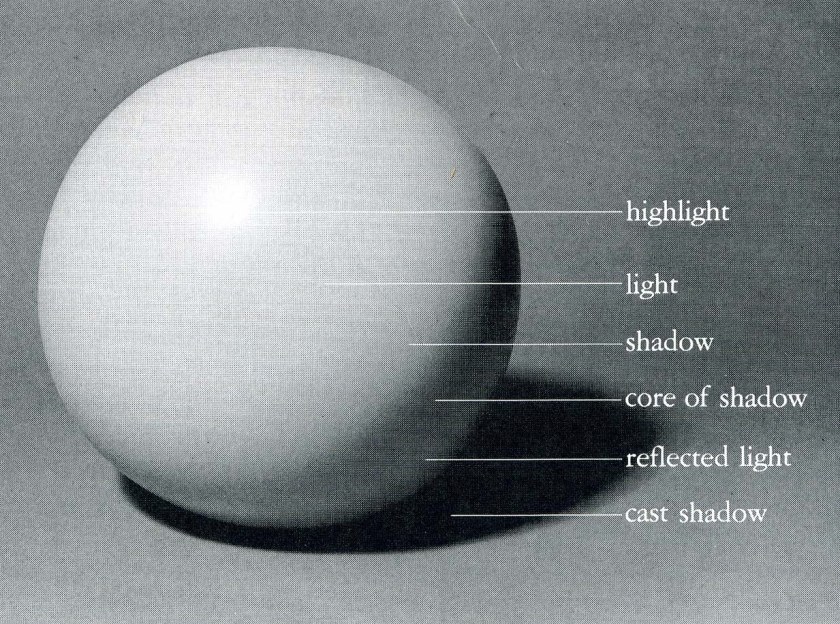
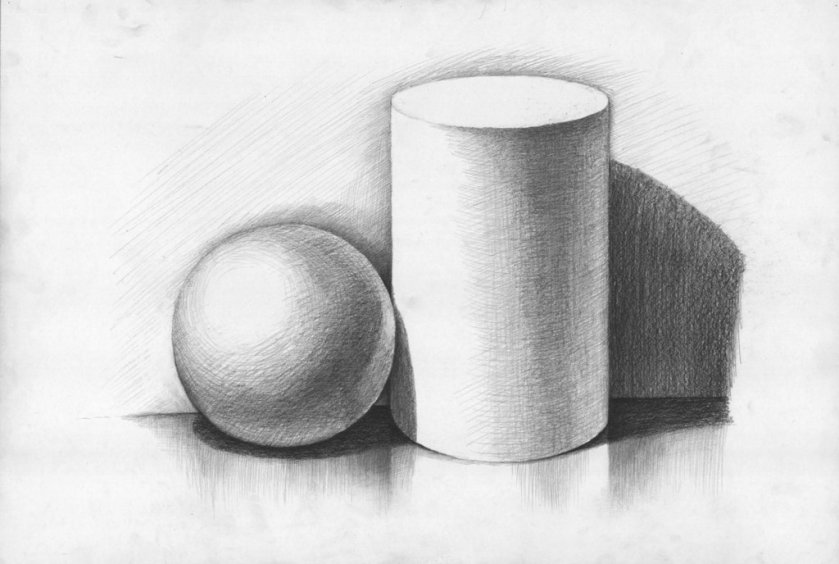
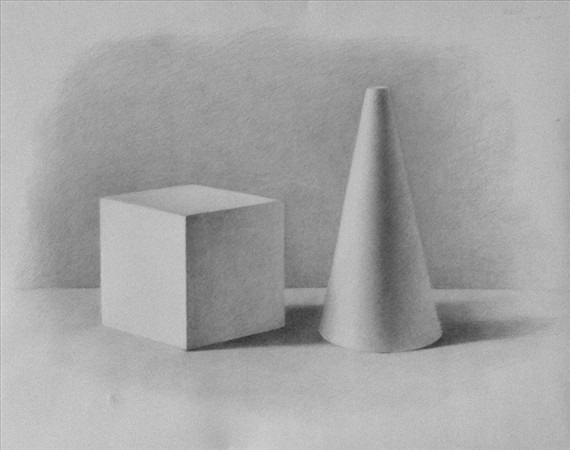
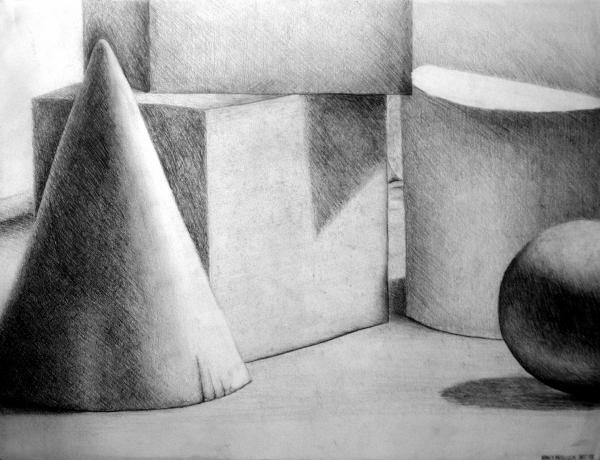
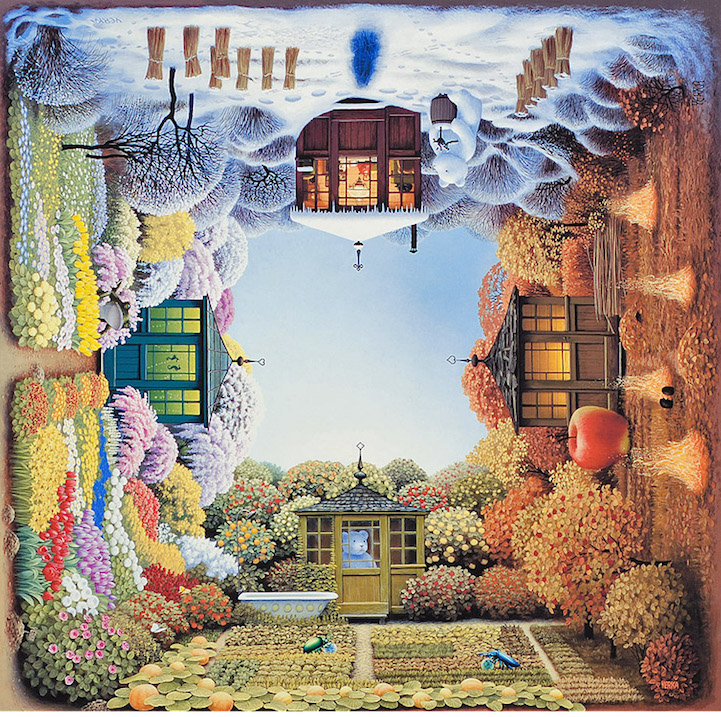
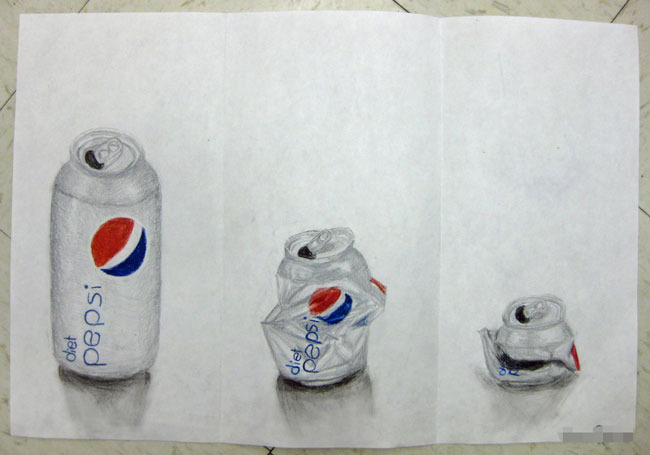
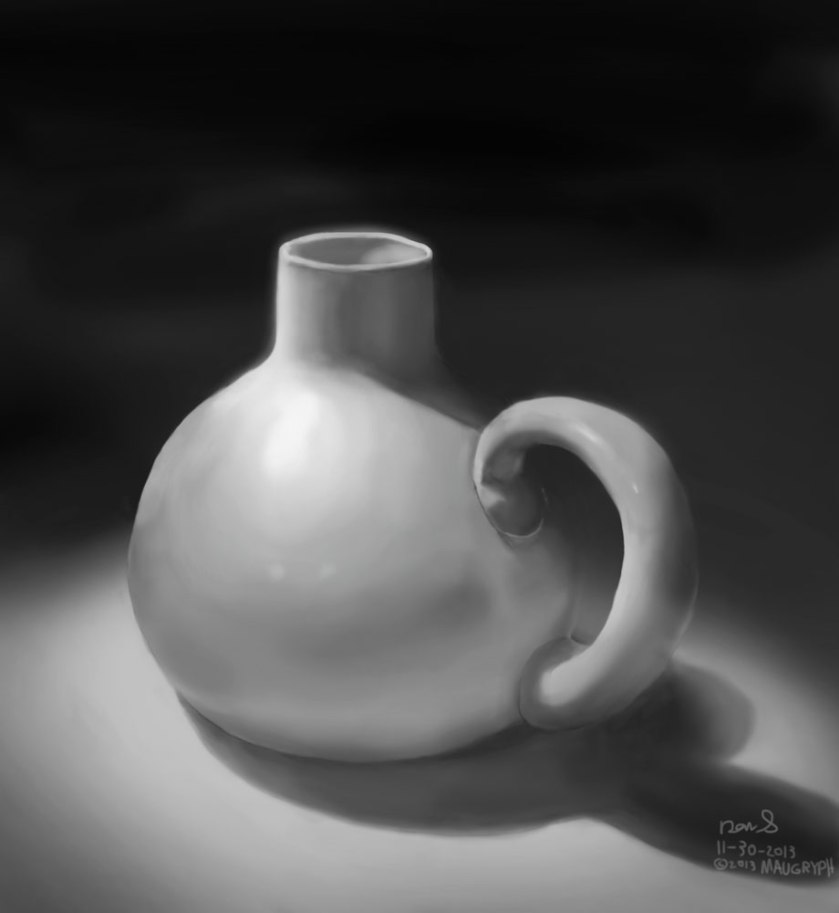
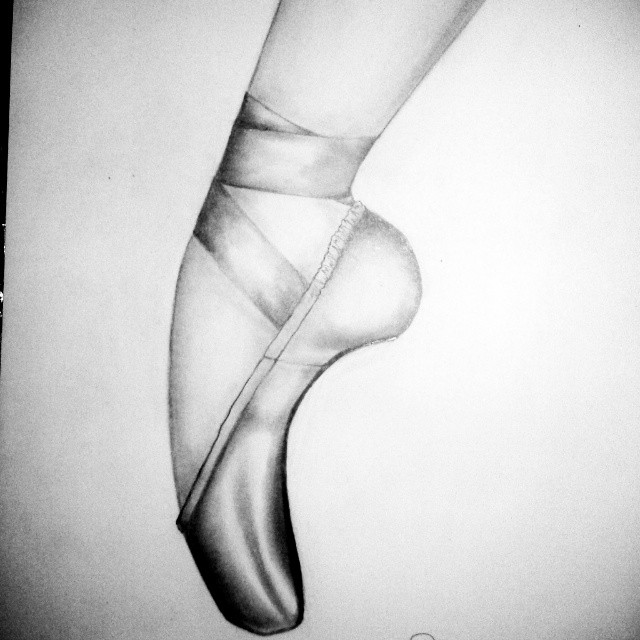
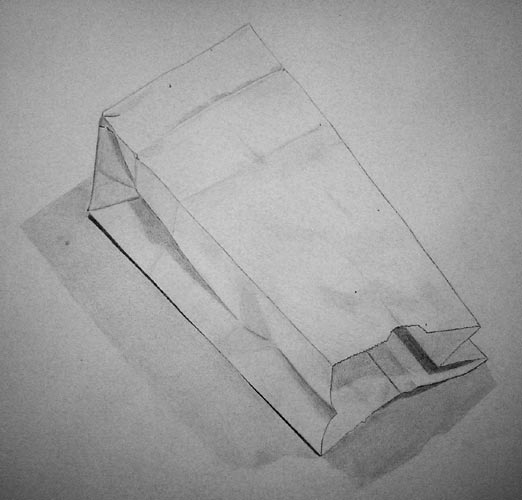
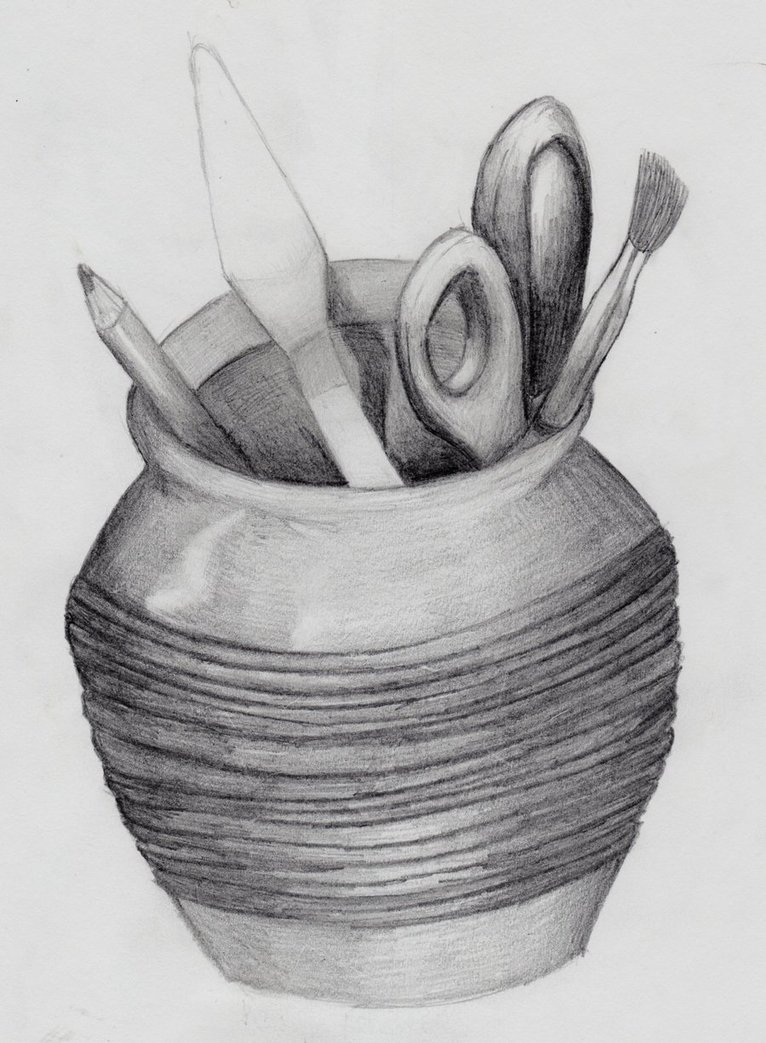
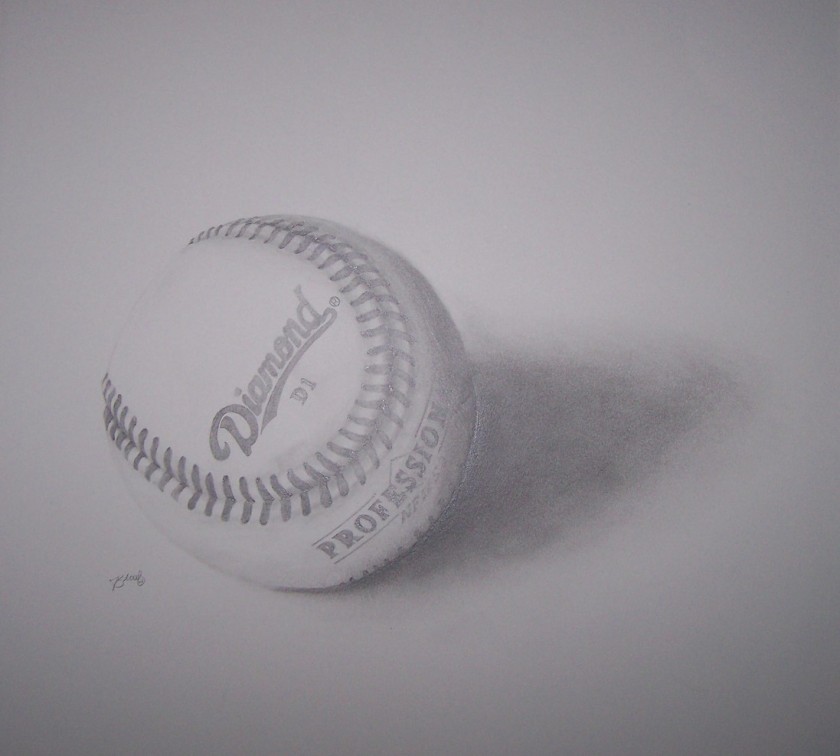
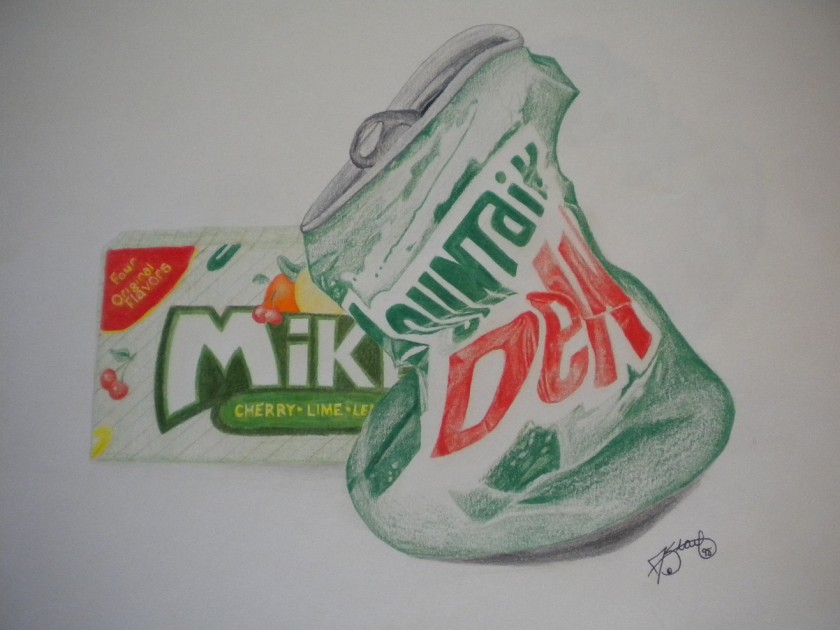
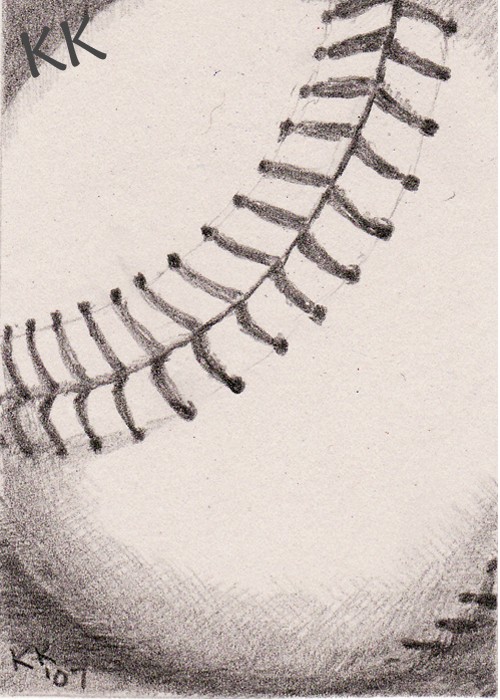
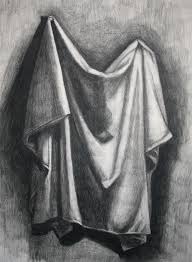
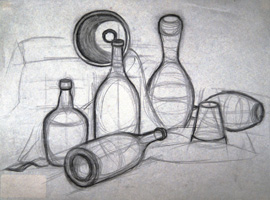
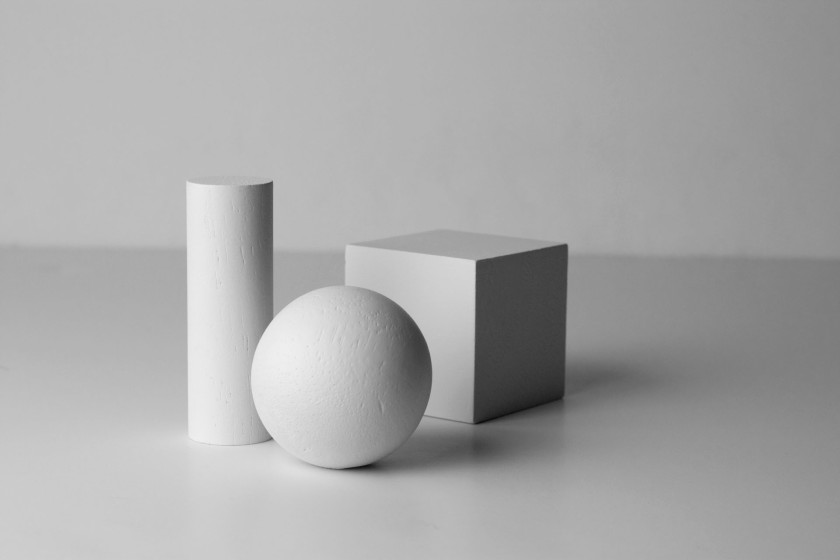
We’ll be using these examples during class to practice our simple form sketches. We will be learning how to draw and shade simple forms to prepare for our charcoal project.
Hi Class!
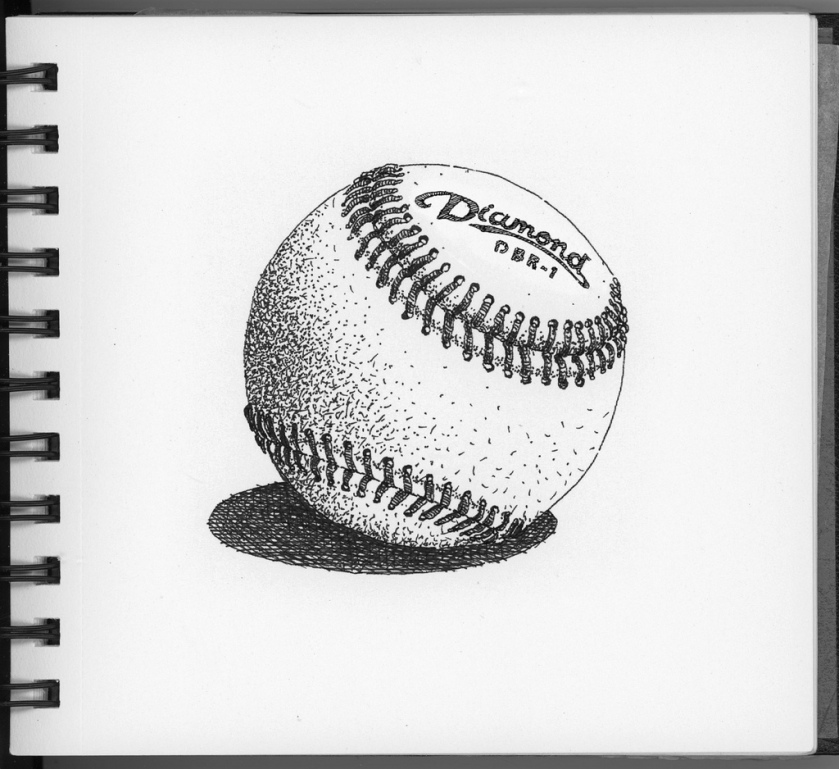
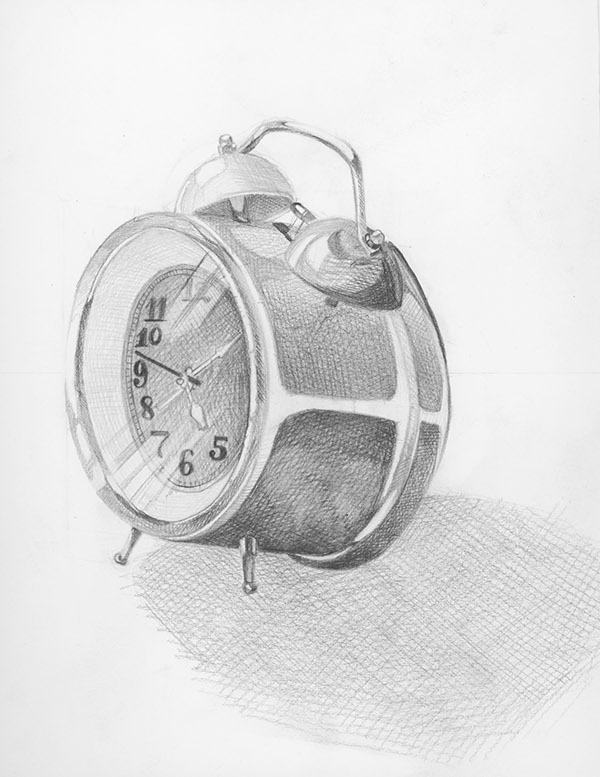
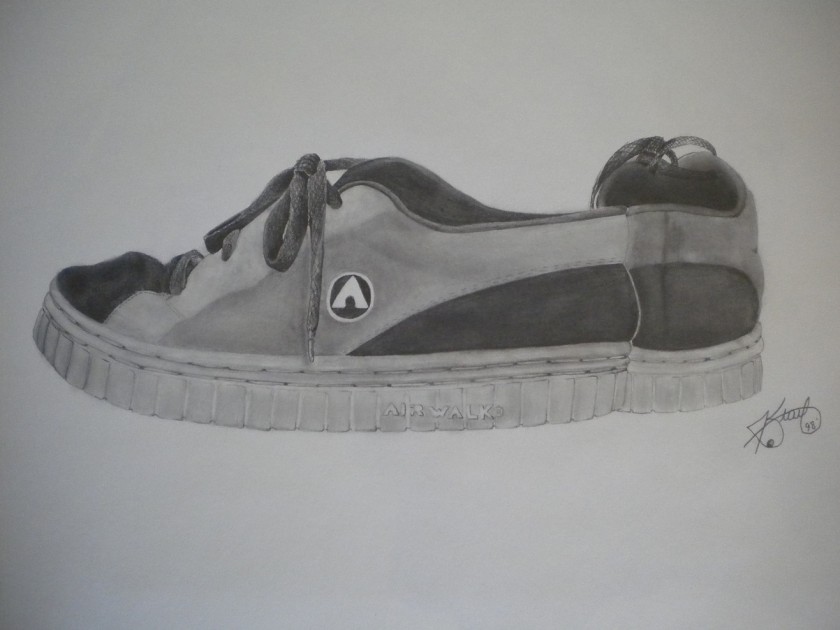
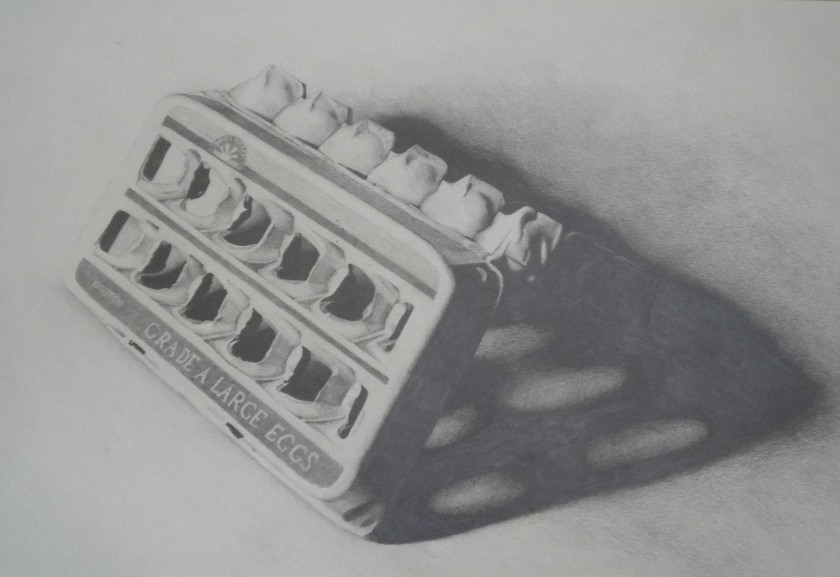
We’ll be using these examples during class to practice our simple form sketches. We will be learning how to draw and shade simple forms to prepare for our charcoal project.
Hello amazing art students!
It’s a new school year and I’m going to use this blog a bit differently than I have in the past. I previously used this blog to feature Jr. High art class summaries and artwork. I also made other blogs to feature the work of our school’s elementary art enrichment time.
Having three separate blogs was not very efficient, so I’ll be featuring ALL art at FCS on this blog. Each post title will specify which class is being featured. There will also be the option to see all of one class by clicking on the category labeled for each class (Jr. High, 4th grade, etc.)
If you have questions, you can always message me by clicking on CONTACT in the menu and sending me a message through the form on that page.
Can’t wait to make some art with you all!
Miss Strauss
Hi Class! I hope you’re behaving nicely for your substitute teacher while I’m gone.
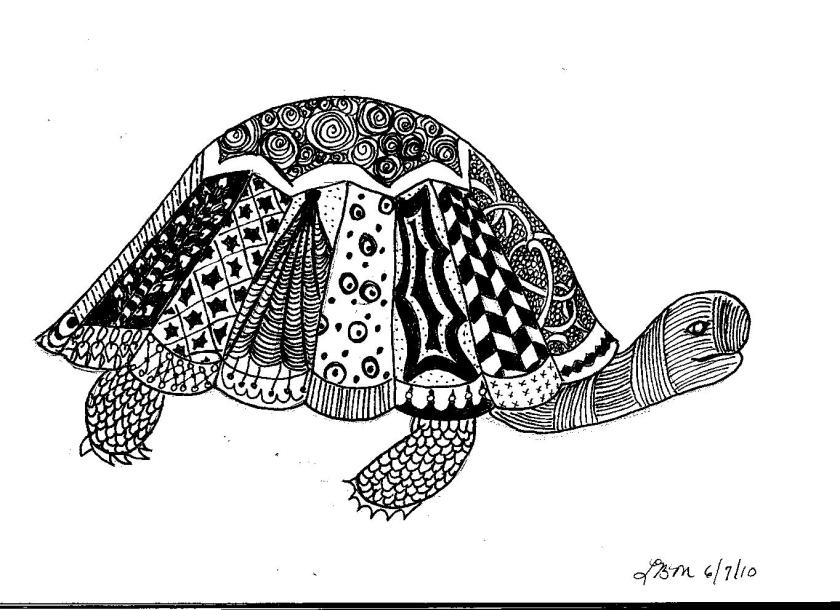
We just completed your large tangle projects. Some of you have a bit more to finish, but we’ll get you caught up later this week.
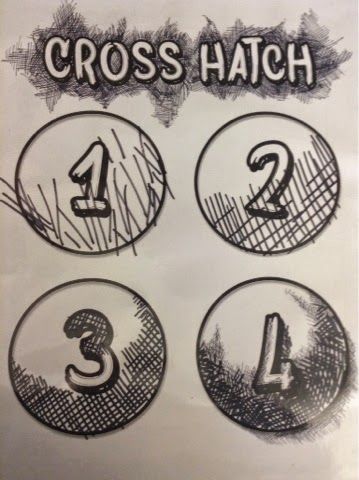
Now we are starting to learn how to STIPPLE. Stippling is a drawing technique used as a form of shading. Shading is used to make your drawings look 3-dimensional, and stippling will also do that. Stippling uses lots of small dots either close together or far apart to create VALUES. Placing lots of dots close together (filling up white space) creates dark values while placing dots father apart (leaving more white space open) creates lighter values.
Today you will work on the following worksheets and you can watch the video below to get a better idea of how stippling works.
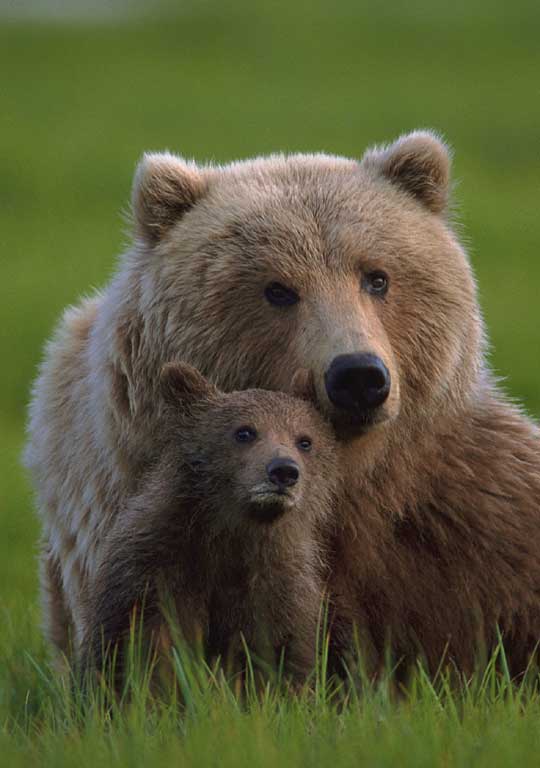
You’ll be copying this bear that is shaded using the stippling technique. Draw the bear with pencil first, then use stippling to add the values. If you finish before class is over, you try the fox and the pear.


FOX VIDEO (Short loop. Not a tutorial.)


Hi Class!
Here are the images that were sent to me during class today. You must bring an 8.5X11 print out of your image to class on Thursday. You should only email me to ask me to print it for you if your printer at home is not working. I can only print black and white images for you.
I’ve noticed that a few of these are quite small. You will need to find a LARGE image online on your home computer and print it out (use the SEARCH TOOLS in Google Image Search — choose SIZE — then choose LARGE).
Some of the images that were emailed to me were too small to print. Its very important that you find a LARGE image so that it can print full size on 8.5X11 paper.
***THEY MUST BE 8.5X11″ (regular printer paper size — you can print on regular printer paper — photo paper is not needed).


Hi Class!
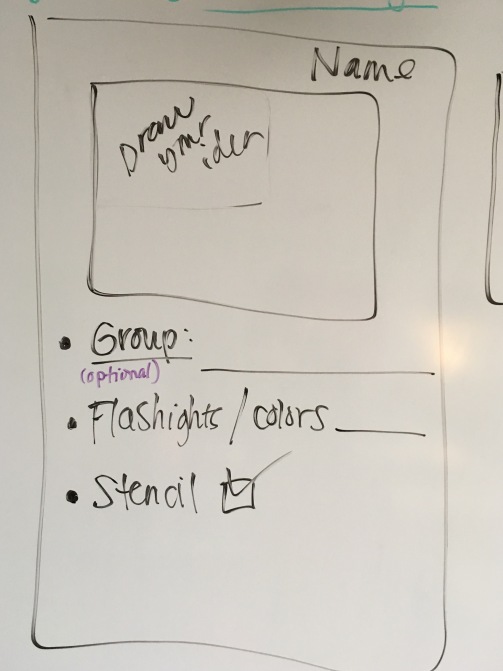
For the past few days we’ve been experimenting with light painting in the gym. Now its time to really MAKE SOMETHING with your new skills. Today I had you draw ideas in your sketchbooks of what you intend to make. You also need to write what flashlights and colors you will need and if you’re working with a group. If you’re writing a word, you need to write the word “backwards” on your sketchbook so you know how to write it when light painting. If you are making a stencil, you need to draw what it will look like o your sketchbook and I’m including info about how to make stencils at the end of this post.


You can practice at home and even complete it at home if you want (image file must be brought to class on a thumbdrive or emailed to Miss Strauss to receive credit). We set it to 30 seconds in class. You can set the shutter speed to the time you want.
http://content.photojojo.com/diy/diy-make-photo-light-stencils/
http://lightpaintingphotography.com/light-painting-tutorials/chris-benbow/light-stencils/
IGNORE all the box-making stuff in these videos. I have the boxes and will give you black construction paper to cut out your stencil from. If you want to cut it out at home, you will need an EXACTO knife and a cutting mat or scraps of cardboard to put underneath tp protect the surface you work on (be careful to not cut all the way through the cardboard and scratch your table at home). Basically, cut a stencil and we will put it in a box with a flash here at school. 🙂
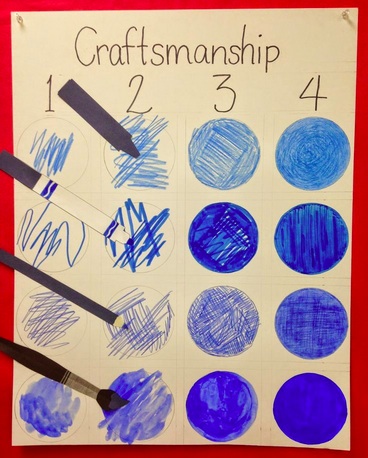
Definition
Craftsmanship – The quality of what a person does. Craftsmanship is most admired when a person creates with skill or dexterity, usually with the hands, whether with or without tools.
http://en.mimi.hu/finearts/craftsmanship.html
The technique, style, and quality of working:
http://thesaurus.yourdictionary.com/craftsmanship#8voGTreFdYhAWDXK.99
The quality of design and work shown in something made by hand; artistry:a piece of fine craftsmanship
http://www.oxforddictionaries.com/us/definition/american_english/craftsmanship
8 Characteristics of a Craftsman
1. They are motivated by mastery rather than attaining a status.
2. They are willing to make sacrifices in finances, free time and relationships.
3. They believe in the end-value of what they are making.
4. They balance a passion for history and tradition with a drive to innovate.
5. They plan and think things through first.
6. They immerse themselves and can maintain focus on their work.
7. They put in the hours for their craft to become a habit of daily life.
8. They know that you’ve never really “made it”.
(excerpt taken from http://lundgrenart.weebly.com/craftsmanship.html)
(You must be finished and turn it in by the end of class.)
http://mymodernmet.com/artist-before-and-after-drawing-practice


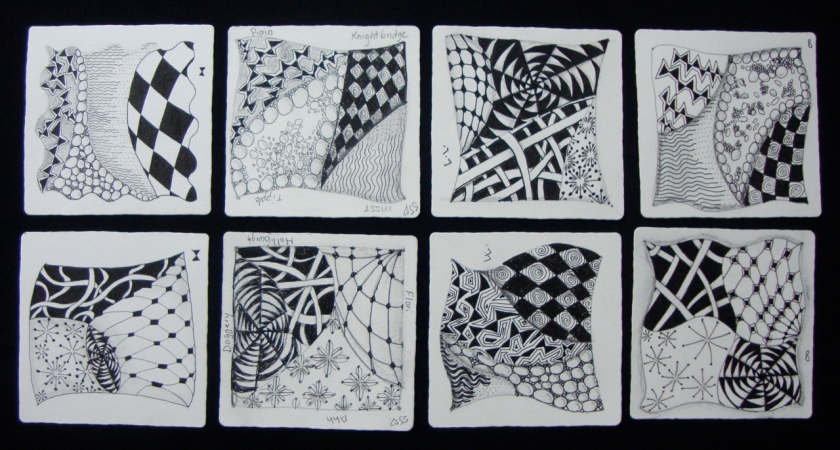
Hi Class!
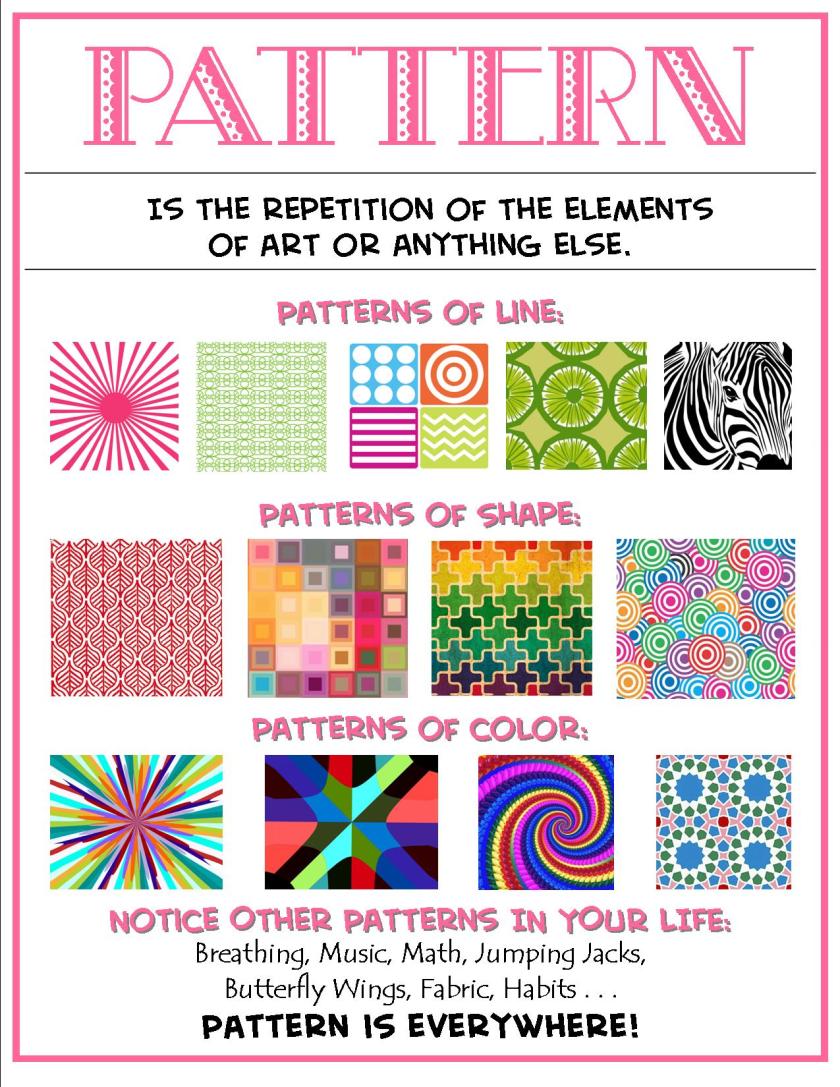
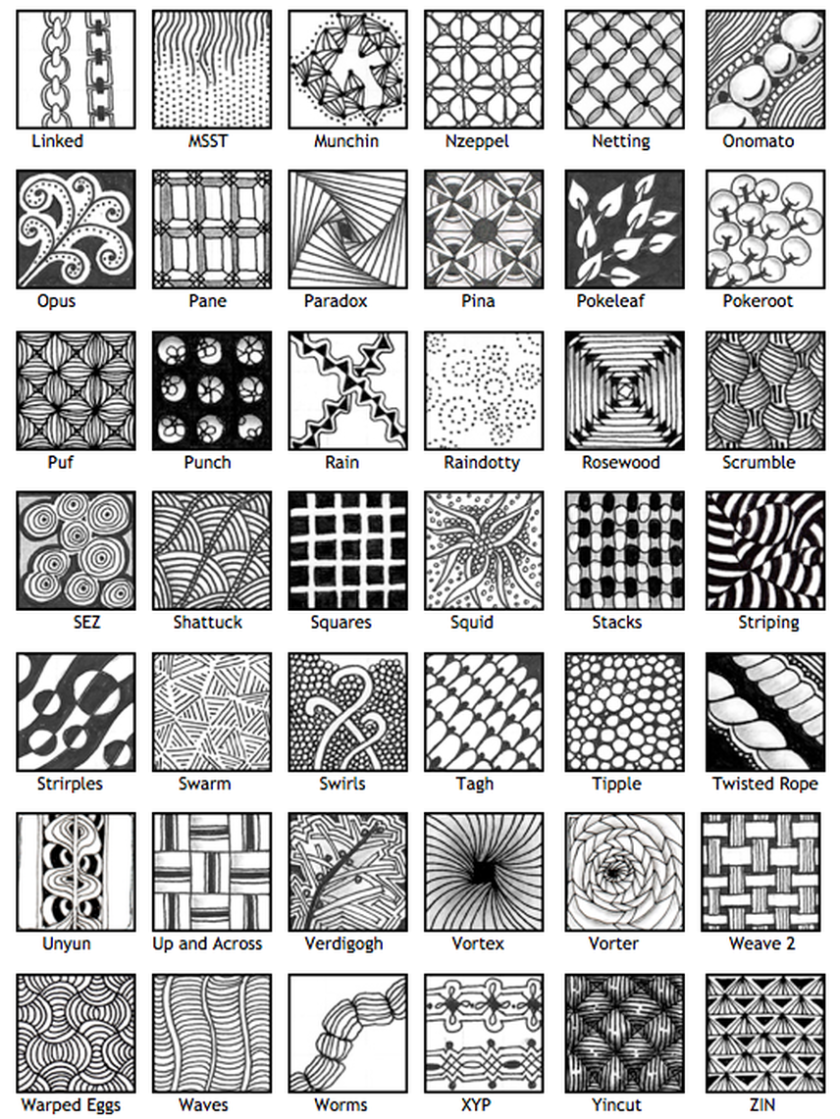
Yesterday we went over the different types of LINE and PATTERN… and started to make tangle drawings. Below you will find the handouts I passed out and pictures of your classmates work in progress.
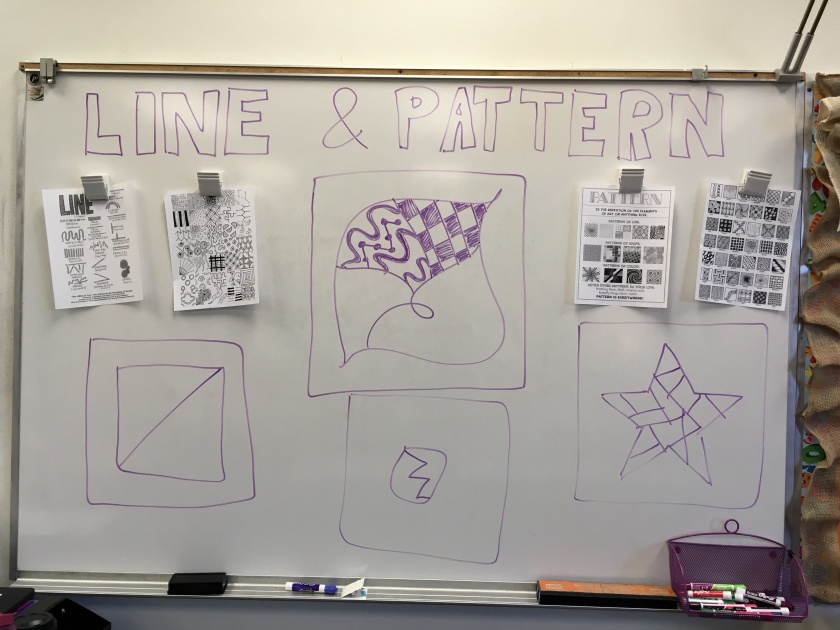
Download the handout below by clicking on the link.
plg0nk-abcsofart_poster_11x17_line


Hi Class!
Today we begin our second trimester of the year. I’m really excited to meet new students and to see returning students 🙂
Here’s a little about me: